The purpose of this experiment is to learn the general simulation test flow and simulation test method of the software in the ModelSim environment, and learn to write a simple Test Bench program and debug it under ModelSim.
The experimental steps are as follows:1. Open the ModelSim software, as shown in Figure 1:

Figure 1 Open the software
2. The startup screen of the software is shown in Figure 2. After entering the interface, as shown in Figure 3:

Figure 2 Software startup screen
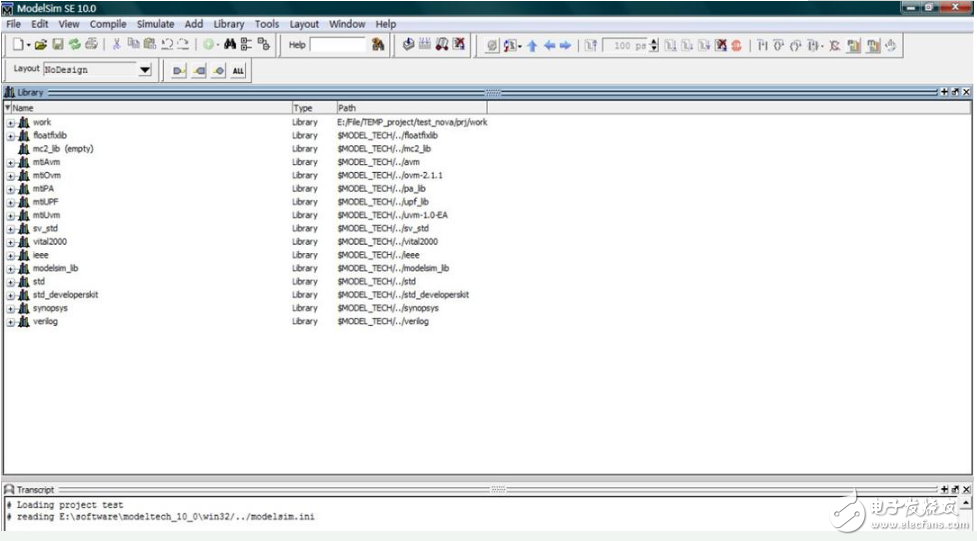
Figure 3 Screen after the software enters
Note: If you are using the software for the first time, there will be some unrelated dialog boxes such as the welcome screen of the software after entering. You don't have to worry about it, you can close it directly, or you can choose not to display it when you log in next time.
3. After entering the main window of ModelSim, select “New→Project†under the File menu to create a new project. In the pop-up dialog box, name the project and specify a storage path, as shown in Figure 4:
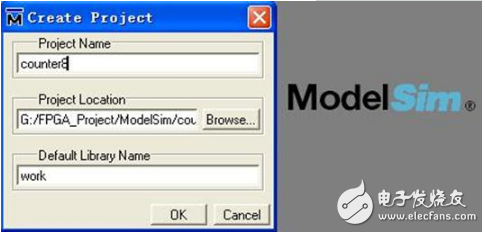
Figure 4 New construction
Here, it is recommended that the project name be consistent with your top-level file name. The precautions for the path have already been said and will not be mentioned here. The default library name is "work", this does not need to be changed, click "OK".
4. After that, the dialog box shown in Figure 5 will pop up. Choose whether to create a new file or add an existing file. Both of these can be selected. If you have prepared the file in advance, you can choose to add it. If it is not, create it. It is more convenient to add existing files here and compile the programs before the software starts. The editing environment that comes with the software is not very good. Using third-party editing tools is the recommended method. It is recommended to use professional code editing software such as UltraEdit or Notepad++.
UltraEdit focuses on the power of features and rich user-customizable features, while Notepad++ is more about ease of use. The difference between the two in the ordinary function is not particularly large, you can choose one according to your preferences.
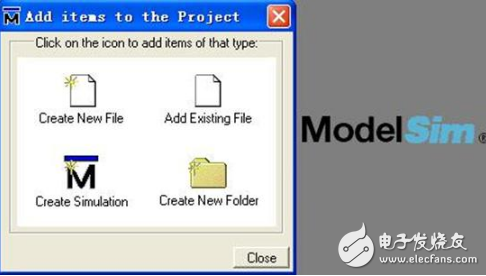
Figure 5 Adding files to the project
Create two new files under the path G:\FPGA_Project\ModelSim\counter8, one is counter8.v and the other is test_counter8.v. The former is our original design file, and the latter is its corresponding simulation test file. In the Windows directory of this path, right-click in the blank space to select a new text document. TXT format, then right-click on this file to select UltraEdit or Edit with Notepad++ to start the corresponding code editing tool for editing, save it when saving In the ".v" or ".vhd" format.
Screen Guard,Ultra-Thin Screen Protector,Full Coverage Screen Protector,TPU Hydrogel Screen Protector,TPU Film,Screen Protection Film
Shenzhen Jianjiantong Technology Co., Ltd. , https://www.jjthydrogelmachine.com